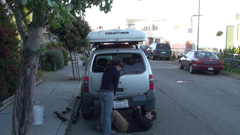
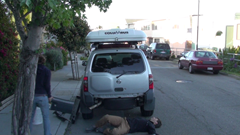
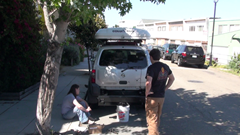
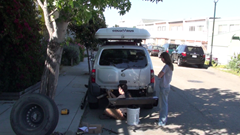
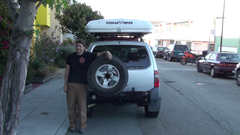
The idea was to add a rear spare tire carrier so we’d have a backup in case of a two flat day. Research on the ClubXterra web site pointed towards two options, the Shrockworks and the Calmini. To me, the Schrock just looked a little more beefy and specifically mentioned a locking latch which I figured would create an extra layer of inconvenience for a would-be thief to work through before they’d get into the back of the truck (swing out tire, rear hatch, and locked storage unit inside).
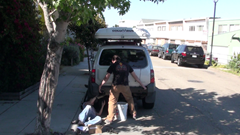
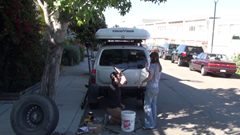
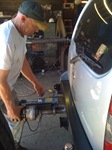
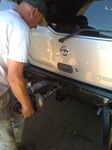
Ordering an $800, 200 lb item over the internet is a strange feeling. “Okay, I know my card’s gonna be charged and then I guess they have it figured out how to get this huge thing to me.” Sure enough, after 12 weeks, our new bumper and spare tire carrier arrived in two large boxes, each of which I could barely move myself. I set aside an afternoon for the installation and laid all the parts out behind the truck, but the first order of business was removing the factory trailer hitch and bumper. I was worn out after even that step.
[Sorry for the image quality, these are actually screen captures from a video I ran with the idea of putting together a timelapse of the installation]
Unfortunately, my momentum ground to a halt as I spent two hours trying to fit the frame stiffeners that would hold the new bumper into the frame rails. To be honest, a good hour of that time, I was trying to put the left one into the right side and vice versa.
Then, when trying to install the bumper, I had to get out a beefy drill bit and ream out the holes in the frame and stiffeners before the bolts could be “coaxed” (read: hammered) through.
The pace then picked up as Ann and I got the new bumper mounted (heavy MF’er) and the license plate light wired.
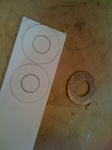
But it couldn’t keep going so smoothly; one of the large, soft metal washers that go on the top and bottom of the thick bolt that provides the pivot for the swing out carrier split and couldn’t be repaired. After striking out on a washer that large at a few local hardware stores, I stopped by Tap Plastics the next day and bought a 1/8” sheet of white plastic from the scrap bin. I traced the intact washer onto the plastic and cut it out on the band saw before drilling a hole in the center. They might not look perfect but they fit and I think the hard plastic may actually give just the right amount of friction without wearing out.
And with that little mod, I was done!
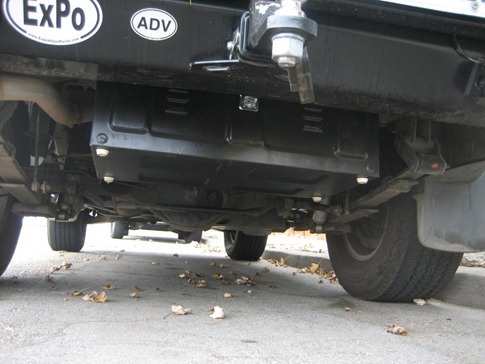
Now to remount the other spare in the factory location under the rear of the truck. Crap! The Schrock bumper doesn’t have a hole to for the crank that raises and lowers the spare via a chain. I briefly considered trying to drill one myself but remembering how slow the progress was when reaming out the stiffener holes, I quickly decided against it. I called around and got a recommendation for a metal shop near my office in San Rafael. At lunch I went down there and described the hole I wanted them to cut in my brand new, pristine bumper. They used a cool magnetic drill that can fix itself on a vertical surface. Probably a rip off at $50 but it’s a *really* nice hole…
When I got home, I slid the spare under the truck, threaded the lifting plate attached to the chain through the hub and started to hoist the tire into to place. Oh for fuck’s sake! The Shrock doesn’t have a cut out to accommodate the spare like the factory bumper does so the tire hits the bumper about 6 inches before it nestles into place under the body of the truck. In fairness, most people who add a rear spare tire carrier are looking to increase clearance by relocating their factory spare. In our case, by tilting the tire at a 30 degree or so angle, the front half would tuck up to the frame but the rear hung down, actually decreasing the ground clearance and making the Xterra look like it had a load in its pants.
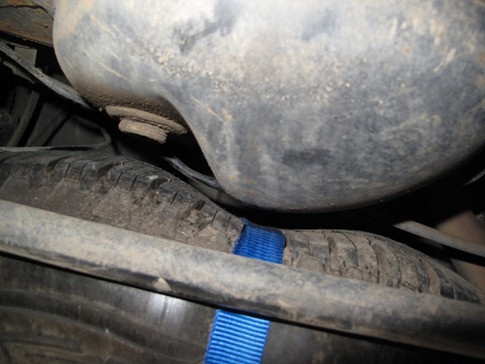
We lived with it like that for a while, rationalizing that it didn’t decrease clearance by that much, but then realized the front half of the tire was rubbing against the rear differential. We tried deflating the tire and using cam straps to cinch it into an oval.
With some well placed “kicks” it could muscled into place but the tire was showing some unnerving wear where it was being compressed by the straps and it’d be a pain to get it out and inflated if we ever actually needed it. In the end, we scrapped the idea of the second spare thinking that between fix-a-flat and tire plugs and patches, one spare would get the job done.
But I’m not about to let that space go unused! I had been looking at 81mm ammo cans when trying to find boxes that would fit under the roof tent and this was a perfect use. I ordered one ($14.95), patched a couple holes using JBWeld, spray painted it black and added some extra latches to it. With the lifting plate for the tire threaded through the top (reinforced by the new latches), it cranks right up into the old spare tire spot. Inconspicuous, secure, and best of all, more storage.

