Installing the solar on the new trailer seems like a good place to start, both because I’m pretty intimidated by the prospect and because I know the wires will need to be routed behind and underneath everything. We’re planning on running the connections from the panels down the refrigerator vent and then forward to the batteries. When Dave and Kelly from Wandering with Purpose visited us a couple months ago, we noticed that unlike on their trailer where wires needed to be fed through a channel underneath the hallway to get to the other side of the coach, we had access to an enclosed cable run beneath the side dinette that would take us all the way to the batteries in the front.
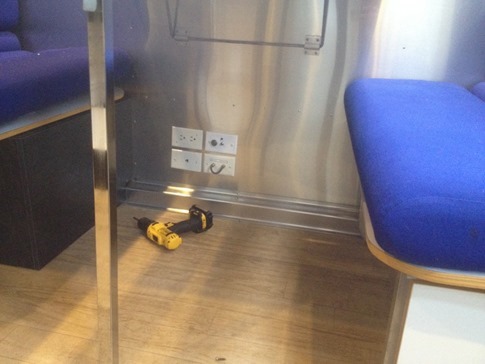
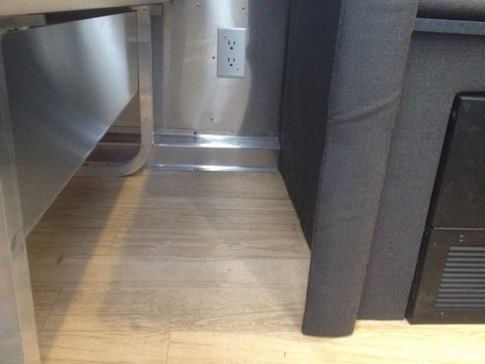
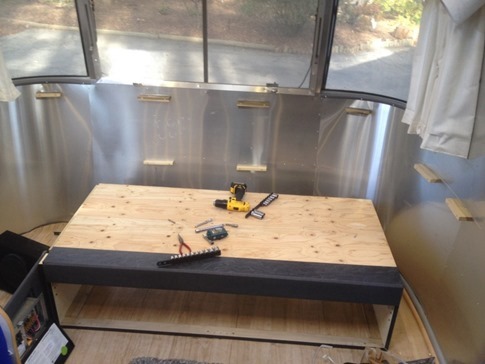
I started removing screws starting on the left side of the aluminum cover and moving right until I noticed that the cover extended under the arm of the L portion of the couch. I removed the screws holding the plywood platform for the L - noting that the access panel Airstream includes provides access to… oh… let’s see… the subwoofer only and not the converter charger or anything you might actually need to work on, I’ll want to make this a full length access like we had on our 19’ – and found that the cable chase extended 6 inches under the arm. No biggie, I’d just take the arm off.
Nice, there’d be a lotta space to work here, including room for the updated inverter/charger we wanted to install. But wait, all the battery connections are behind the backrest panel accessible only through a small opening, another access panel I’ll want to extend. Fair enough, I really wanted to follow the example Dave had set in his great write up of his solar install and keep all the wiring really clean, so I’d have to pull out the backrest to be able to work. After a somewhat maddening search for every screw that held the backrest in place, including removing the other armrest and front lower curtain track before realizing that there were two more screws inside the flip up storage compartment, Ann and I managed to slide the large piece out.
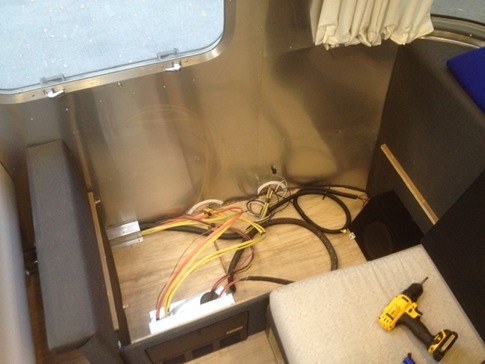
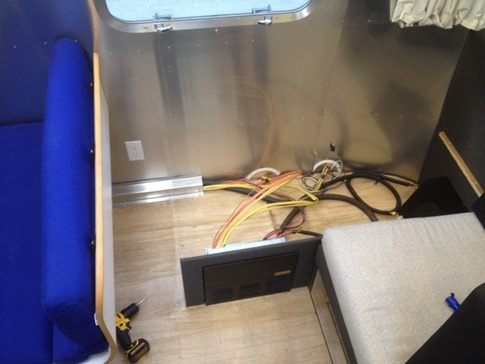
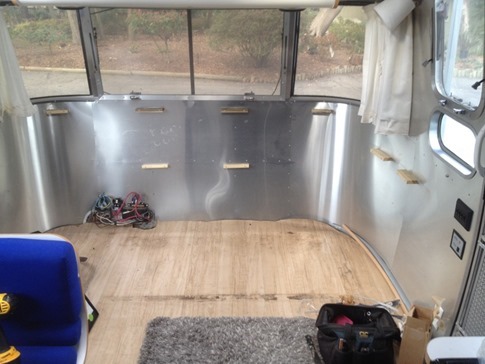
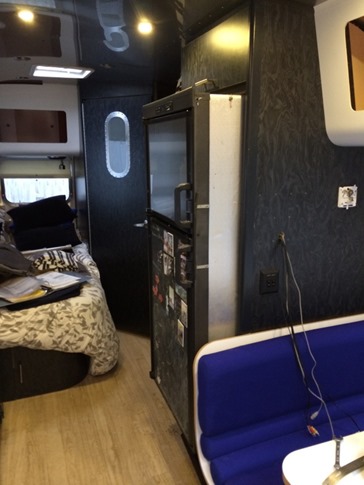
Well, now the main couch base just looks silly sitting there all by itself. Plus, it’d be really easy to pull it and be able to deliver the entire couch assembly to an upholsterer rather than just doing the cushions. So yeah, removing the cover to a small cable chase ended up leading to the entire couch being out. Note the spaghetti wires coming through the front of the coach from the battery compartment. Stick around, I think you’ll find this is the way these things tend to go with me…
Need another example? One of the first things we did was remove the old, tiny 4:3 ratio TV that had come with this 2005 model. We measured carefully and bought an LG 26" LED TV that fits perfectly on the same wall on a swivel and tilt mount that will allow it to swing 180 degrees for viewing from the bedroom. There were a couple problems: first, no HDMI cables to run from the AppleTV or a laptop and second, the TV would cover the thermostat. Jamming a finger into the hole where the AV wires came out of the wall, the space felt pretty tight. I wasn’t looking forward to the prospect of fishing wires down or fishing them up to where I’d mount a new digital programmable thermostat. The solution? Remove the fridge and have complete access to the inside of that wall.
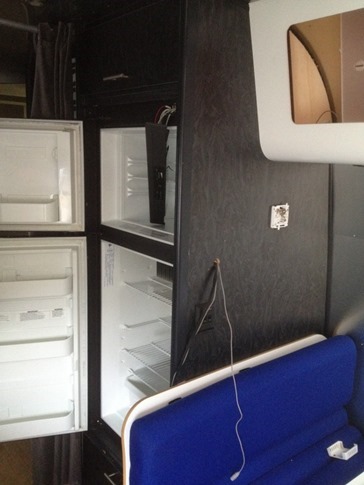
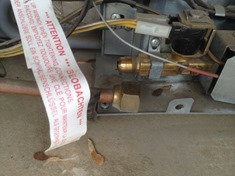
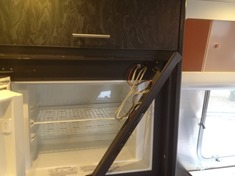
After detaching the gas, 12V and 110V connections in the back, I found the six screws the Dometic manual had told me would be there; two at the bottom front going through the hinges, two accessible through the exterior vent and going into the “feet,” and two at the top front behind the control panel. Well, actually, I found five of them; One of the top front was missing. Oh, and when I went to remove the other top front one, the head broke off leaving a screw shaft just barely poking through the hole. A note for anyone undertaking the same process: In my case, this screw was actually going through the metal trim at the upper right side of the fridge, instead of through the expected holes in the top trim.
I stuck a whirring drill bit into the hole in an attempt to demolish the remaining screw shaft. After much work, all I succeeding in doing was widening the original hole. Turns out, that gave me enough space to stick some pinch nose pliers in there “Operation Game-style” and twist the remainder out. See? Not everything turns into an epic project for me. But wait, the fridge still won’t budge even with my yanking on it so hard that the trailer coulda used a “don’t come knockin’” sign. I found a mention on the forums of caulking under the feet and did my best with a putty knife to break the bond in the front and back. Now it would slide forward but would always catch at a certain point. I removed a side trim piece from the cabinet but couldn’t see anything more. Finally, with just the right amount of shoulder pressure pushing against the stripped carcass of a once perfectly functional fridge, I saw the shaft of the second top front screw peeking through the hole on the other side, this one having lost its head before I even started the project. Ugh. This time, I just bored out a larger hole and went right in with my pliers to twist it out. “It takes a very steady hand…”
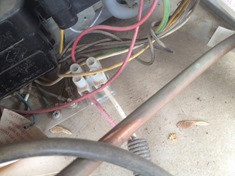
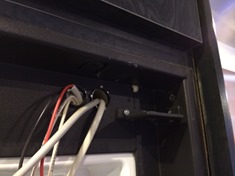
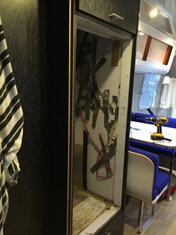
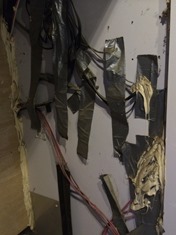
And with that, the fridge slipped out (with some help from our burly uncle who just happened to be visiting that afternoon). Hey Airstream, nice work on securing the wiring. Is that duct tape and globs of adhesive up to code? C’mon guys…
With everything now wide open, I think we’re ready to start laying out the panels on the roof and figuring out what wiring goes where. While we’re at it, we’ll run an antenna cable (or two) for various wifi/cell boosters we might install in the future.

