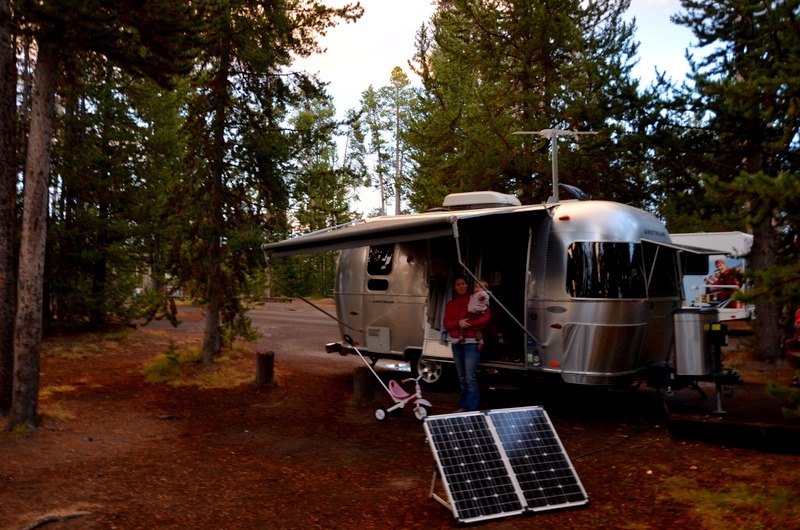
The first step to planning our solar installation was figuring out how much power we would need. Of course with solar, available power is really some combination of gathering and storing capacities – panels and batteries. On our 19’, we’d gotten by with the two stock Interstate Group 24 batteries that came with our trailer and a Zamp 120 watt portable solar panel and could last just about two days without charging, either because of rain and clouds like last September in Glacier National Park or because I was too lazy to spend 2 minutes to set up the panel.
The batteries were rated to hold about 150 amp hours total, but it’s not recommended to go under 50%, so let’s say 75 amp hours usable. If our batteries had been lasting about two days, you could estimate that we average out at about 1.5 amps an hour (75 amps/48 hours). In reality, we’d be using be more like 6 amps for 5 minutes in the morning while Ann was making her smoothie, maybe 0.5 amps for most of the day to run the Fantastic Fan, 3 amps for 45 minutes while making dinner and 4 amps for 2 hours while watching TV, plus the on and off of the furnace blower through the night.
To figure out what it would take to recharge the batteries, you calculate the amp output of the panels as watts divided by voltage. Though our batteries are 12V, like most so-called 12V solar panels our efficient 120 watt Zamp puts out closer to 17V so only promises about 7 amps. So in the end, to make up for a day of regular use (1.5 amps X 24 hours), we’d need just over 5 hours (at 7 amps/hr) of good sunlight to top off our batteries. Fairly doable in most conditions.
For the new trailer, we wanted the ability to last up to three cloudy days without a charge. Factoring a little higher energy use for the larger trailer, we estimate we’d average 2.5 amps an hour or 60 amp hours burned per day. That would mean we’d want around 180 usable amp hours to get us through three days, for which we’d need batteries with a total capacity of 360. Here were a few ways to get close:
| 2 | Trojan T-145 6V | Mod tongue box | 260 ah | $400 ($200 ea) |
| 2 | Lifeline GPL-31X AGM 12V | Mod tongue box | 250 ah | $800 ($400 ea) |
| 1 | Lifeline GPL-8DA | Under lounge | 255 ah | $700 |
| 4 | 6V AGM | Under lounge | 400 ah | $1200 |
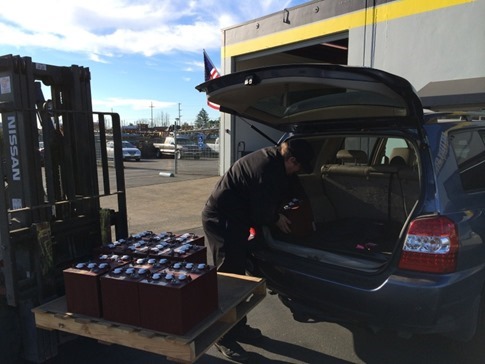
Based on the price and the fact that people seem to rave about the Trojan 6V batteries (run in parallel for 12V), they seemed like a good place to start, and the missing amp hours could be compensated for with higher wattage on the panels. Plus they would only require a slight modification to the battery box on the tongue and are commonly available. We found two T-145’s available from a local supplier. It occurred to me that maybe I should have checked the weight when they were delivered to the back of the car on a forklift…
With a benchmark of bringing batteries back up to full in 5 hours of sunlight after one day of use, we would need enough wattage in panels to produce 12 amps (60 amp hours/5 hours). Looking at the product offerings from AM Solar, often mentioned on the Airforums and recently used by Dave from Wandering with Purpose and few others from the Canada Caravan, the GS-100 panels put out just under 6 amps. We’d need three of them to be sure. Ah hell, while we’re at it, the GS-135’s are only $50 more each and put out closer to 8 amps. Three of those could give us up to 24 amps and have us back to full in under 3 hours. These seemed like the perfect compensation for the the lower battery capacity and would give us more charge in marginal weather conditions or with a low winter sun.
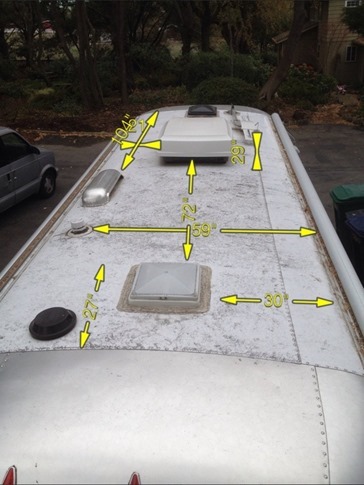
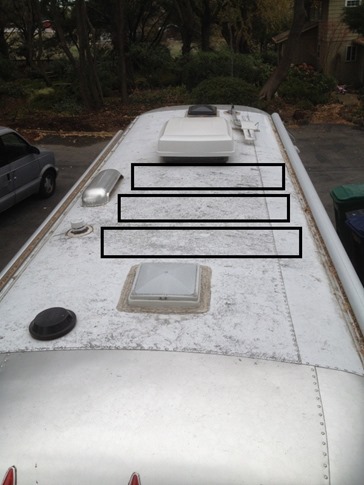
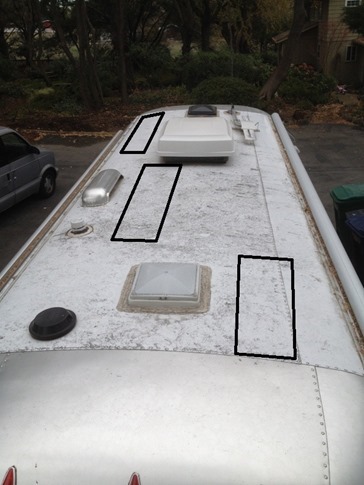
After taking some measurements of the roof and storing them in the handy MyMeasures iPhone app, I had what I thought was a perfect plan; The 57” GS-135’s would just fit with inches to spare running across the body of the trailer, three in a row from the AC to the rear vent. I placed the order and received the large boxes soon after.
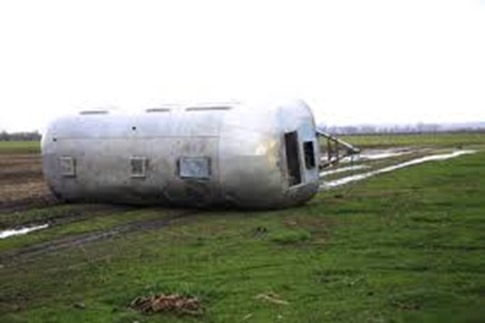
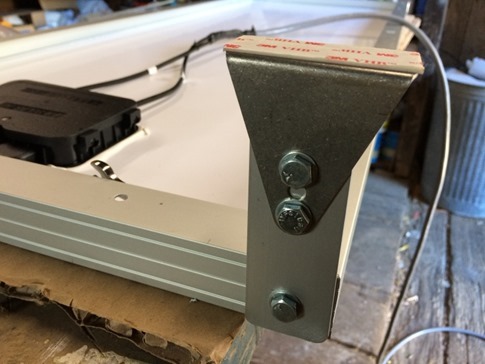
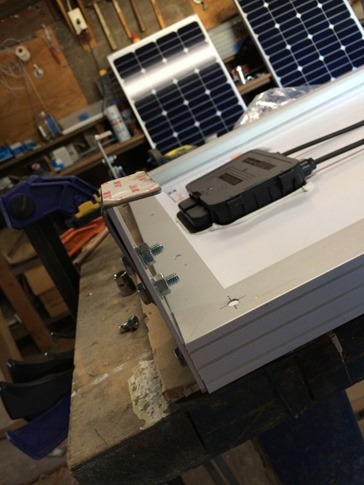
Well, you know the rest of the story up to now. I’ve been getting everything ready for the moment of truth when I actually get to put the panels up there. But of course, there were still a few things to do. I started by attaching the threaded mounting brackets to the edges of the panel and quickly realized there was already a problem; I had envisioned adding tilting bars that would lift the panels from their short ends, thinking that this would put them nice and high to catch the winter sun, but the factory mounting brackets were set up to tilt along the long edge. I called AM Solar for help (as was suggested many times in their documentation) and reached a knowledgeable guy who told me that, while I could do it that way, the panels would also catch wind. The idea of waking up in the middle of the night to a trailer thrashing in the wind and worrying that we’d either lose the expensive panels or end up on our side was enough to talk me out of my previous plan.
Not to worry, I quickly set about devising a rationale I could tell myself (and others!) as to why my planned panel locations would work *even better* with the panels tilting along the long edge. You see, I reasoned, it’s nice to be shaded from the afternoon sun under your awning but also to watch the sunset with a cocktail from a camp chair. Therefore, if given the option, we would park with our awning side to the west. As a plus, we’d enjoy the warmth of the morning sun through our vista windows from the east. This would put the rear of the trailer facing north [thanks for the edit, TwoBikes], in perfect position to tilt the last panel along its long edge to catch the low winter sun. The other panels would also reflect up onto the tilted panel? Okay, I was reaching by the end…
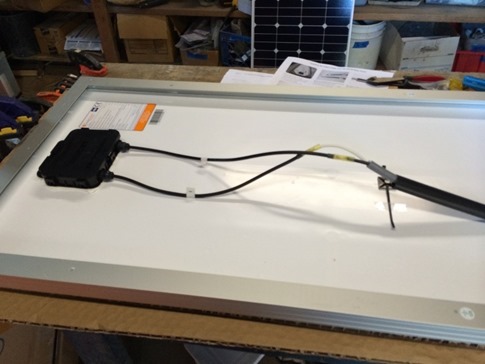
I finished attaching the brackets with the threaded tightening knobs extending from the ends and flipped the panels over to connect my 10 gauge grey wiring to the positive and negative connections of the panels. By the time Ann came into the barn to watch me do the third panel, I was quickly cutting the cables to length, stripping the ends, crimping them in the butt connectors and sealing the connections with my heat gun like a pro. She tentatively asked, “So, is what you’re doing now, like, hard?” I assured her that while I was making it look effortless, she was in fact witnessing a master at work.
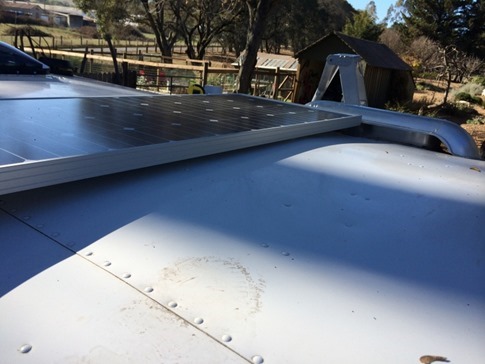
Again, I balanced the panel as I climbed up the ladder and strained to swing it as gently as possible onto the roof of the trailer. It was a little tricky getting it settled on the far side of fridge vent, but once I had, I pulled it up snug against the aluminum vent cover, knowing it would be a tight fit. I went around the other side to see how much room I had on the far side and quickly saw two problems. First, with the mounting brackets extending more than 1/2” on each side and the plastic threaded tightening knobs extending even farther, these 57” panels were closer to 60” inches wide. I had at most 59” to work with and now the mounting feet extended over the drip rail. Next, because of the curvature of the Airstream roof, the feet on this side were actually dangling about 4” off the roof and the middle of the panel was resting on the center like a see saw. Uh, that wasn’t good.
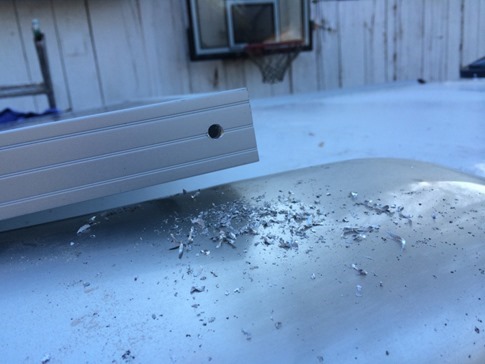
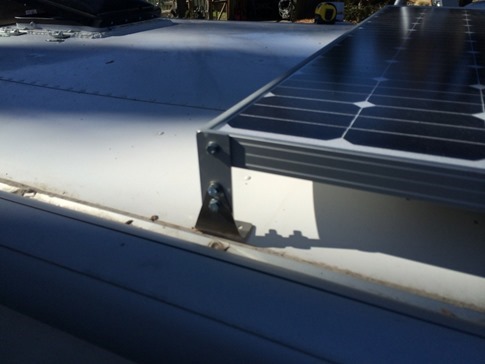
But, I was going to make this work. Remember that rationalization I’d come up with earlier? It was too convincing to turn back now. I had bought a couple lengths of 1 1/2” flat aluminum stock to make the tilt bars, so I fabricated (a fancy word for “made” that you get to use when there are sparks and danger of a tiny metal shards flying towards your face) two 4” extenders to the stock feet. I also went ahead and drilled a couple holes in the frame so I could attached the mounting feet directly instead of through the brackets which were adding at least 1/2” on each side. I think things were looking pretty good.
Of course, then I realized that the roof would be sloping pretty steeply at the edges and the feet wouldn’t sit flat on the roof. I’d come this far hadn’t I? So I bent the feet to match the contour of the roof. Now things were getting pretty custom. They were going to talk about this installation on the forums for years, I told myself…
And in fact, once up on the roof, everything fit like a glove. I’d reclaimed just enough room for the panel to fit side to side, there was just enough clearance in the center and the feet made perfect contact just above the sealant.
Then why wasn’t I happy? You see, true happiness is an elusive state. One can follow a path they’ve convinced themselves will lead there, only to find the reality ultimately lacking. Also, this just looked funky all up high on one side and so tight to the fridge vent. Plus,it struck me just then that all three in a row was gonna look weirdly massive on the top of the trailer. I remembered that I’d promised myself I’d try to do things the right way on this project…
[BEGIN NEW RATIONALIZATION]
So as I was saying, panels should *obviously* be dispersed around the roof of the trailer. You see, in low sun conditions during the winter months, panels too close together will shade each other when tilted. By aligning panels along the length of the trailer and orienting one side or the other to the south, all panels can be tilted to catch the sun angle without shading each other. And of course in the mixed shade/sun conditions of many campgrounds, dispersed panels will have more chance of catching good sun at various times of the day than one central consolidated block that would require the trailer to be parked in full sun. (Who would even *think* of such a thing?!) As an added benefit, you avoid the annoying sunrise or sunset sun peeking underneath your awning from the east or west. Try to pay attention, you guys. This isn’t rocket surgery…
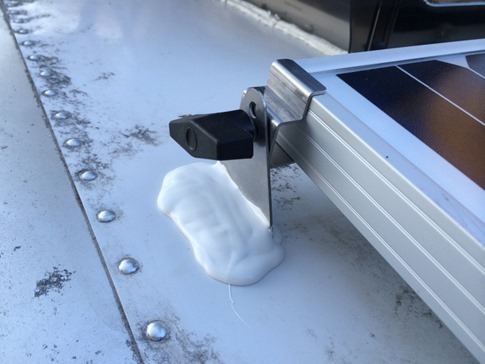
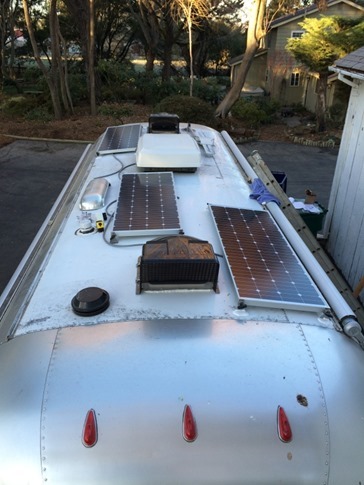
So within a half an hour of undoing my custom mods, I had all three panels positioned on the roof. In the front, I moved the panel as far forward as possible to minimize shading from the AC shroud. In the middle, I moved the panel as close to the fridge vent as I could while still having room to work to minimize the effects of shading (when tilted) from the rear panel which I slid as far back as possible. I cleaned the areas under the feet with alcohol (plus one for papa) and removed the backing on the adhesive feet. This time the Dicor self-leveling sealant self-leveled well, and I gave everything a good glopping. Masking tape? It’d been a long day, and I really wasn’t that worried about aesthetics up on the roof. I’ll definitely use the end of the second tube of Dicor I bought to redo (or at least goop over) the questionable seal job I did on the fan.
There they are in all their glory. The wiring’s the easy part, right?

