We’ve been lucky enough during this renovation of our new-to-us 2005 Airstream International CCD 25’ to be able to take it out for a couple weekends over the course of the Spring, and each time have both loved the general the floor plan and learned a little more about what else we might like to update. But after returning from the last weekend up in the Sierra Foothills, it was time to really start working towards getting the project finished before our second child’s scheduled arrival in early July.
Four 1 1/4” thick cork slabs, 25” x 36”, had been sitting in the barn in the boxes in which they’d been shipped since February when we’d gone to a few local eco-friendly kitchen showrooms and fell in love with the material. In addition to the environmental benefits of being sustainably-harvested – the bark of the cork oak can be removed every 8-9 years without harming the tree and the product we ordered is made from 100% post-industrial recycled scraps leftover from making wine corks – we were sold on the specifications. Cork is waterproof, anti-microbial, heat resistant and fireproof and - importantly to our application - lightweight and can be shaped with wood tools. Aesthetically it has an organic look and is warm to the touch. We’d ordered the slabs right away, but honestly, I’d been a little nervous to start working with them.
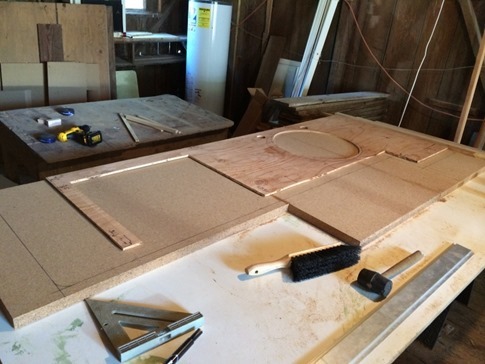
I started by laying the slabs out as efficiently as possible with the plywood underlayment we’d been using for a countertop as a rough template.
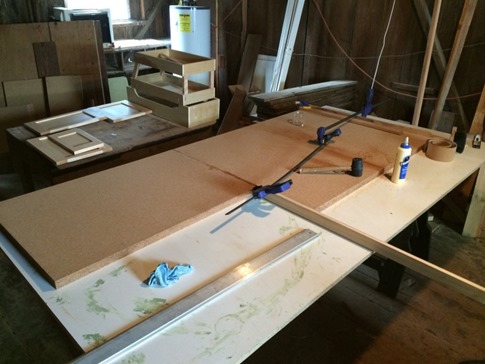
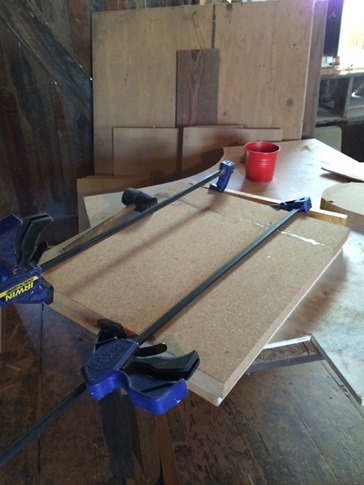
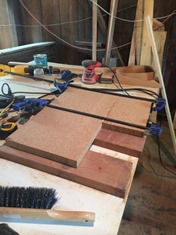
Next, I trimmed 1/4-1/2” off of the sides that would be joined to reveal the more dense material and get a clean edge. Other than the thick dust, the cork was a dream to work with on the table saw compared to the hard maple I’d been using for the cabinet fronts. Some creative clamping held the slabs together while the Titebond II (just standard wood glue) dried.
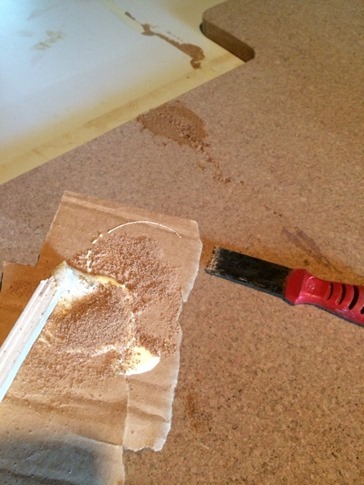
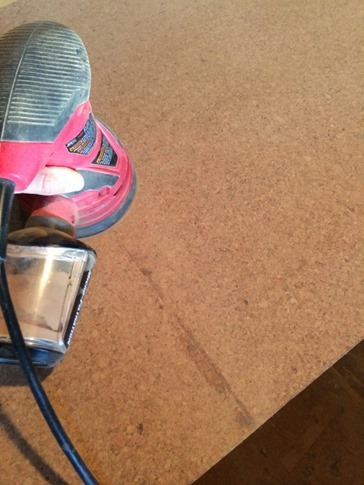
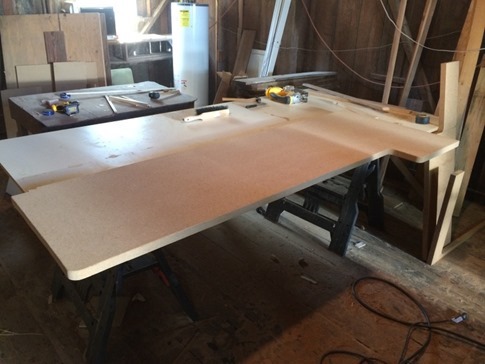
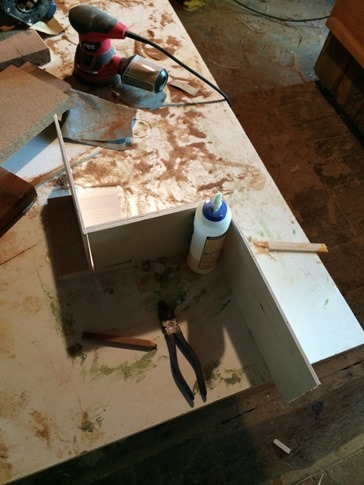
Despite being pretty well stuck to the work table the next day, a problem which would have been a lot worse had I not randomly thrown this full sheet of white melamine (basically plastic coated particle board) onto a couple saw horses as a work surface the first day I started the project, the seams looked great. A putty knife broke the slabs free with only minor tearouts on the back side and the orbital sander made quick work of the remaining glue on the seams which mostly disappeared. Note: I had mixed some cork dust with glue and smeared it into a couple spots where there were gaps which are the only areas that remain visible.
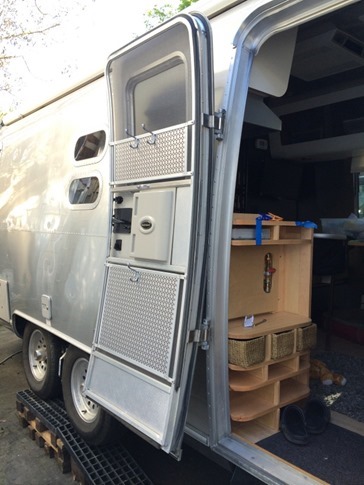
Next, I had to account for the 1” overhang we’d planned for. One of the reasons we’d loved the cork was the chunky thickness of the slabs without the weight of stone or even wood. We could have possibly used a less expensive thin cork laminate over plywood, but the picture in our mind was of that nice thick, exposed cork edge. We also had to extend the countertop on the stove side to cover the shoe storage and heater mount we’d built by the door.
Of course, I used my high tech template (a 1 quart paint can) to sketch the radiused corners.
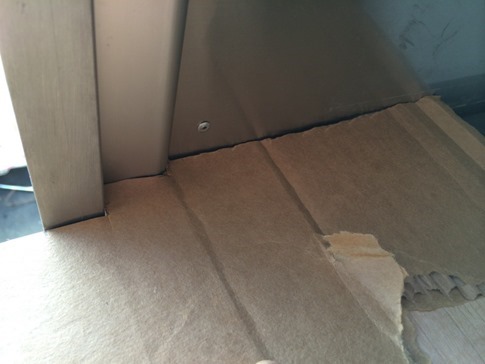
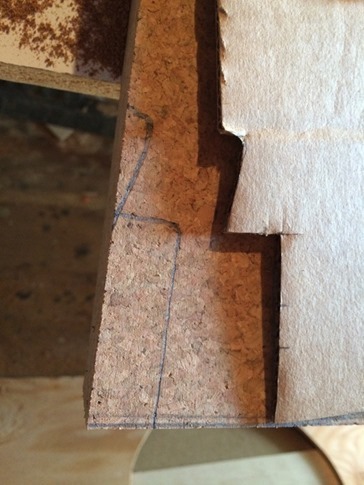
Once again, cardboard proved to be easy to work with to template the edges of the door jam where the counter went around it. I’d start with a rough sketch and then trim a little bit at a time with scissors until it fit.
Then transfer to the cork.
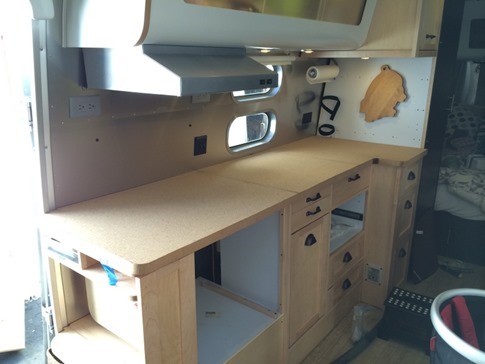
I’m incredibly happy with the Dewalt 18V cordless jigsaw I bought when the hard maple finally killed my old Craftsman. Seeing the shaped counter slab finally in place really gave us an idea of what things would look like when finished.
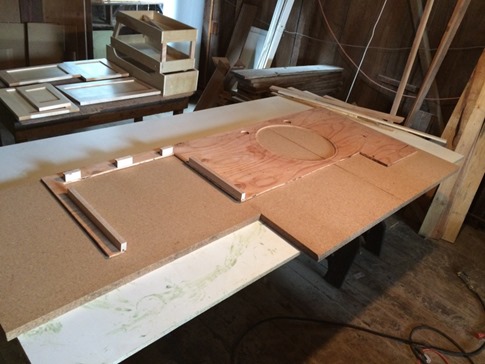
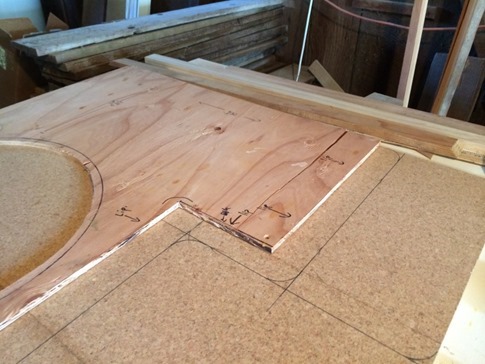
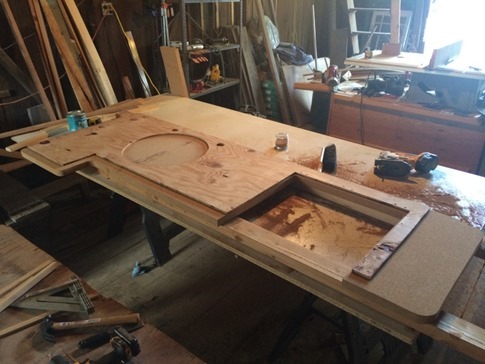
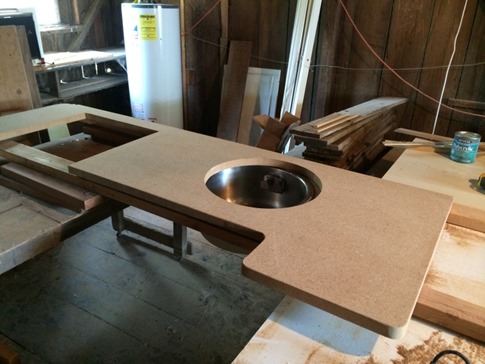
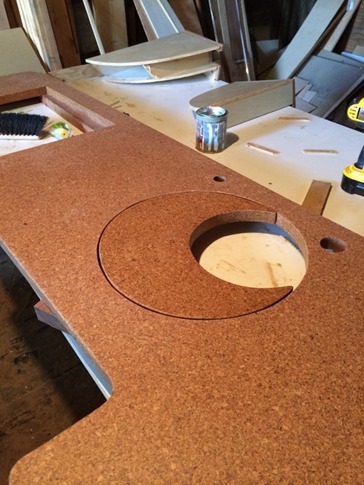
But the counter was still a long way from done. Next, I used the underlayment to mark the position of the sink and stove cutouts. Note the extension over the shoe storage on the right side of the pic (countertop is face down).
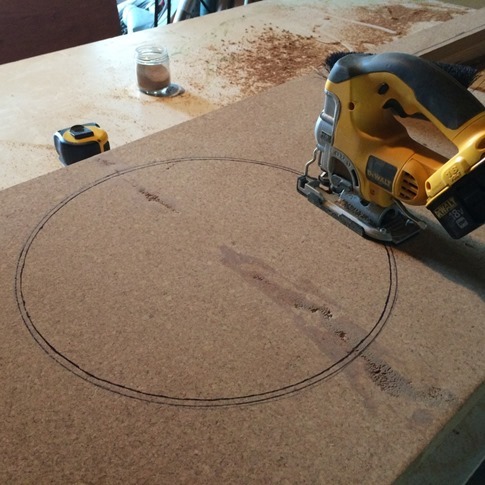
The plan was to do a pseudo undermount on the existing sink. I say pseudo because this sink has a lip that’s meant to be top mounted and the cork might or might not support a sink hanging directly from it anyway. The solution was to top mount the sink on the plywood underlayment (which was well-supported by the cabinet) and then set the cork on top of that. To leave a 1/4” overhang, I traced the hole from the original countertop and transferred a new line on the inside of the circle. You can see the tear-outs from sticking to the table after gluing but these are on the bottom of the slab.
Dry fitting the cut countertop, sink and plywood underlayment.
Notching to accommodate the stove trim (top and bottom of pic). Measure 17 times, cut once. I was worried I was gonna wear a rut between the work table and the trailer as I went back and forth checking measurements and fit.
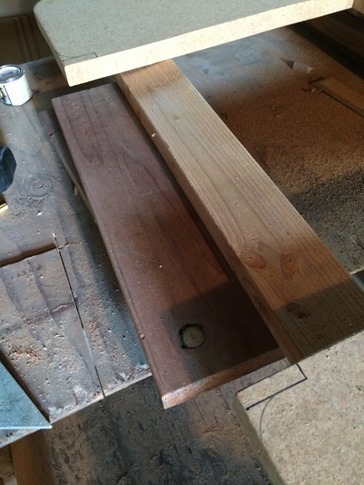
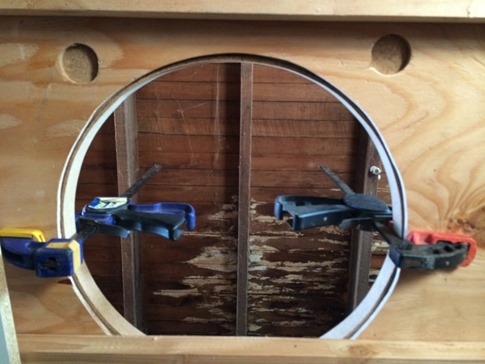
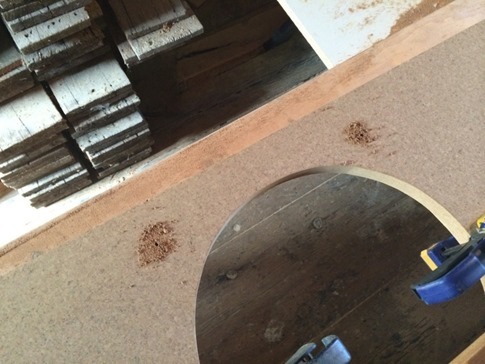
Looking from beneath at the holes for the faucet and soap dispenser.
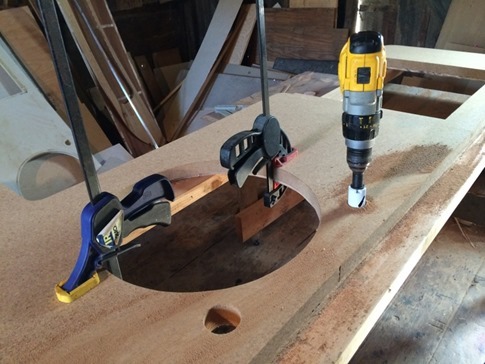
Small hole drilled upward through the center of each hole.
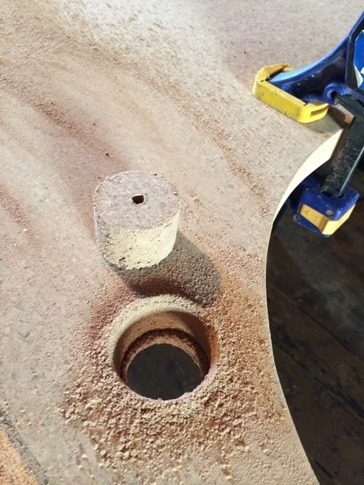
And the final drilled down with a hole saw for a clean edge. Then breathe again for the first time in about 20 minutes.
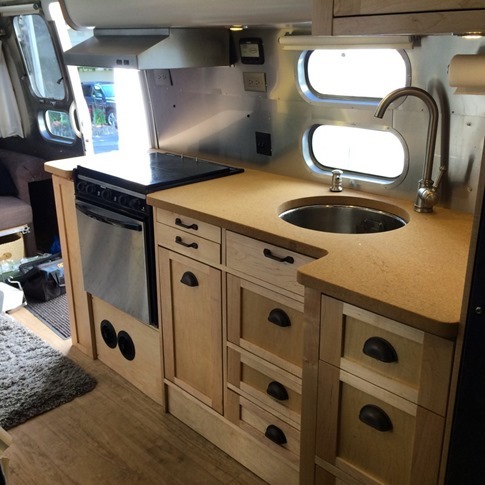
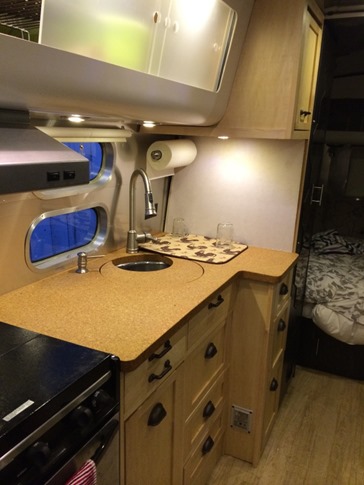
A little roundover on the edges, tweaks to even out the sink cut out and oven fit and we were ready to really see what it would look like. BOOM! Pretty damn happy.
The trailer came with a plastic cutting board you could put over the kitchen sink to make more counterspace. Problem was, as soon as you used it, you would inevitably need to run the water and were stuck. I was looking at the piece of cork I’d cut out to make the hole for the sink, and an idea came to me. With crescent moon shape, we could dramatically increase our counter space while leaving a small portion of the sink usable. Choose your own sink size! BTW, this could easily be done to the factory plastic sink cover by anyone with a jig saw or access to a place like Tap Plastics.
A trailer kitchen with counter space!
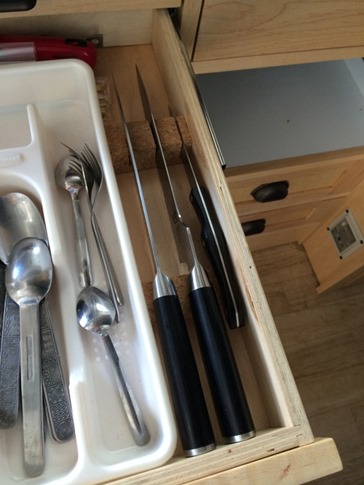
Listen, I paid for this cork, I’m gonna use it. New knife block in the silverware drawer. After careful consideration, we decided that a Shun 8" chef's knife and 8” offset bread knife plus one small paring knife was really all we needed (plus steak knives!).
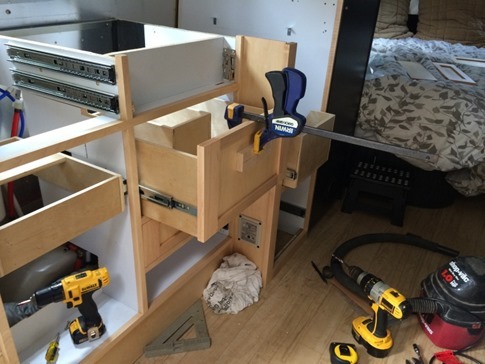
You’ll also notice that I’ve officially finished installing the drawer fronts. Yeah, there are some gaps a couple places (don’t look too close), but in most things, I find I’d rather do it myself 85% perfect than pay someone else who might be able to do it 90% (but could also be satisfied with 70%). The last one installed was the flip down drawer front in front of the of the sink. Not exactly sure what we’d keep in there (a couple extra sponges? Bottle brush?) but I’m kinda on a roll reclaiming unused space in the trailer, and I wasn’t about to stop now.
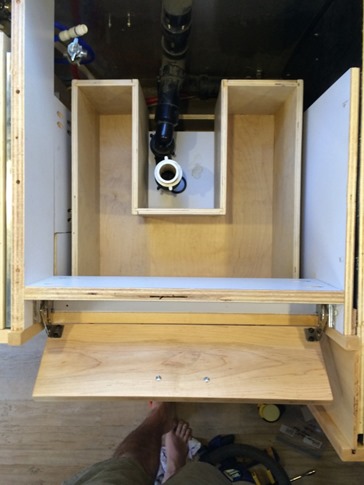
Drilling for the cup pulls on the U-shaped drawer under the sink (first pic) and a view of the flip out drawer (second).
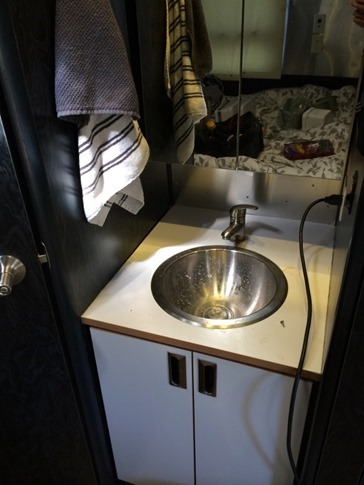
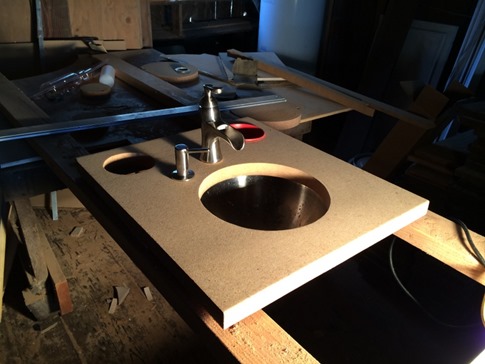
While waiting 24 hours between each of the three coats of Osmo on the countertops, I got a little distracted by a couple unplanned bathroom projects. Replacing the bathroom countertop had been way down on the project list, but now that the kitchen counters looked so good, and I had all the tools out, and I had an extra scrap of cork I’d cut out to fit the stove… here goes nothing!
Okay, I had to glue a little extra piece onto the stove cut out to get the right dimensions, but once this stuff is glued, it feels like it was always one piece.
Plus we had this faucet we’d bought to put in the bathroom in the house, but hey, the way we’re feeling, it’ll probably get more use in the trailer! We used the same technique to “pseudo-undermount” the sink as we had in the kitchen.
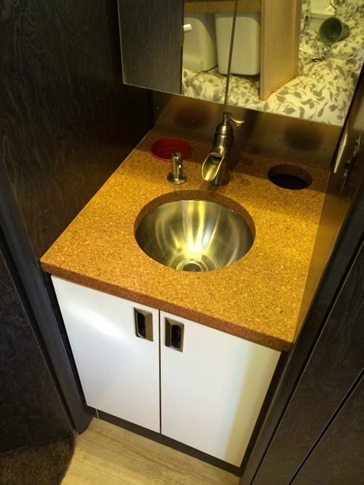
And just like that (a few days later), presto! The two circular cut outs fit small galvanized “pails,” one for toothbrushes and one for small bathroom trash (floss, Q-tips, etc).
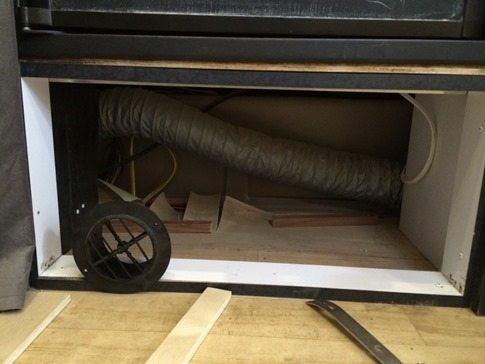
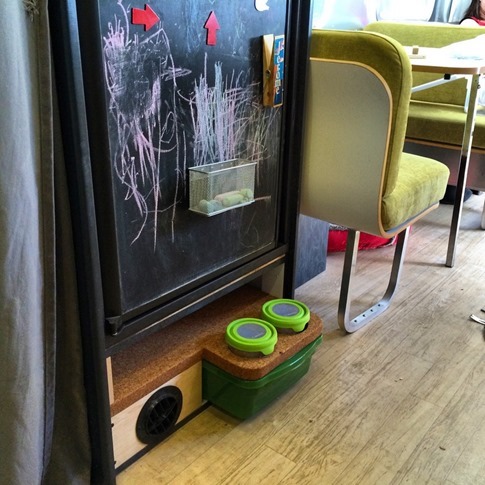
And do you honestly think we’d be able to sleep at night after cooking and brushing our teeth off of beautiful, sustainably-harvested, anti-microbial, custom-fabricated cork countertops if we made our dog eat off the floor like a common animal? CORK FOR EVERYONE!!! Actually, we’d always planned to put a dog food “station” in the space beneath the fridge. With the way the dinette extended out into the hallway, this area was a perfect spot for food and water bowls where they wouldn’t get accidentally kicked. Topping it with the cork just seemed like an obvious choice since we already had it. Of course, once I tore into this area to look around, I got another idea… (it’s a curse).
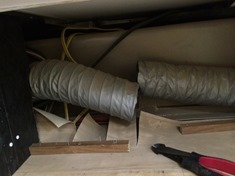
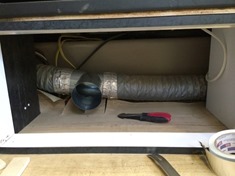
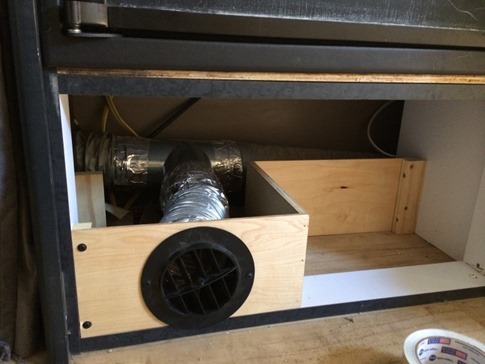
We had already added a second heat register to the main room while relocating the one that used to be where the new shoe storage was installed. We like to keep our bedroom cold and direct the heat to where the kid(s) sleep, but the manual for the heater requires three 4” registers open at all times to keep the unit within operating temps. That meant the register at the foot of our bed needed to be open, although we’d developed a little technique of using Wynne’s step stool to hold the thick velvet divider curtain aside so the heat was directed into the main room. This duct under the fridge that lead to the bathroom was a perfect place to add a tee for a third dedicated register so we could close off the one in the bedroom.
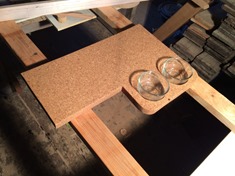
Another cork scrap was pieced together and two deep circles routed into the top to securely hold Gorilla’s bowls in place, even while underway. Tight fitting lids (the bowls are just glass tupperware) keep water and leftover food (yes, she’s an “only dog”) from spilling out.
A little zig zag of plywood supports the cork, provides a mounting surface for the register and makes a cubby for a food storage bin.
Notice how the bowls are kinda tucked behind the dinette seat. Works great.
Okay, that’s most of the cork run down, but progress has been fast and furious elsewhere as our deadline – er, I mean “bundle of joy” – is approaching. More projects and the final (although I’ve been accused of not knowing the meaning of that word) reveal coming soon!

